Photography is a two-step process for me, and both give me glee. First it’s finding something I want to shoot, taking the shot, and then seeing through the viewfinder that it might be an okay picture. When that happens, I often do a little happy dance, sometimes just on the inside, but if it’s really a cool picture, it might be a full-out dance, right there on the sidewalk or wherever. I think my fellow photographers will know what I’m talking about.
The next step in my photography process is opening up that photo in Photoshop and playing around with it. I must say that now that I’m learning about the editing power of Photoshop, I rarely delete a photo after just looking at it in the camera viewfinder. I want to get it home on a big screen and see how it looks there. Sometimes it’s just part of the image that can be cropped out and salvaged into a pretty cool photo. But knowing all the tweaks that I can do in Photoshop and Adobe Camera Raw, it makes editing so much fun!
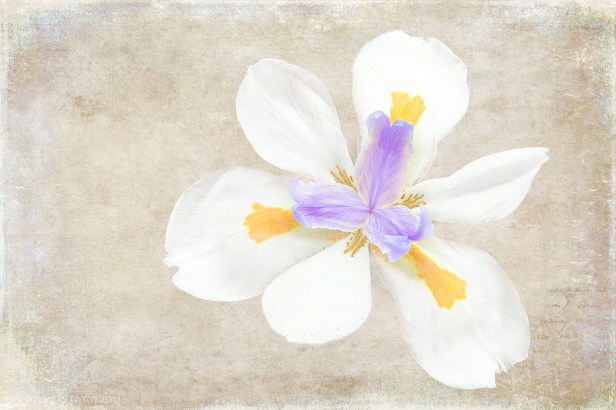
Take this photo of a little iris flower, for example.
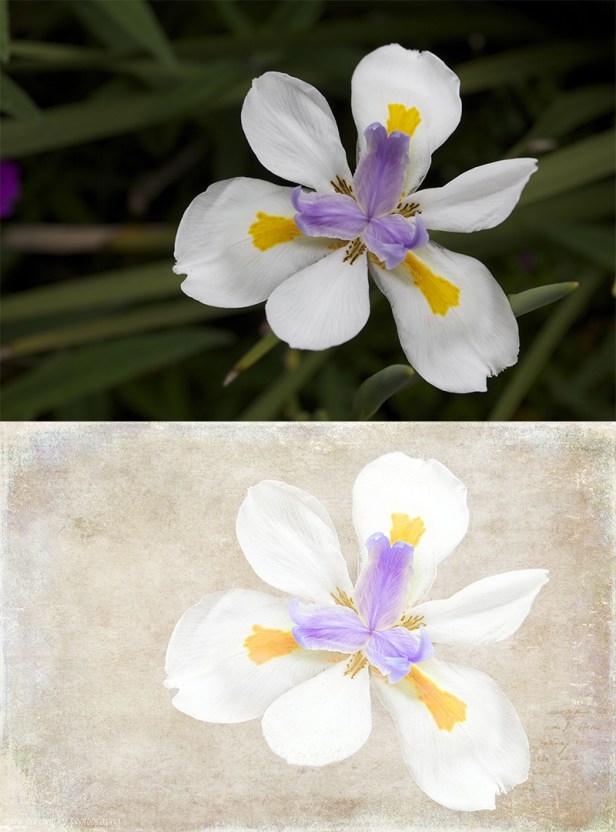
This was shot on a cloudy day but I liked the composition of the shot, how the flower stood out against the dark background. It was a wee bit fuzzy but all-in-all something I thought could be salvaged and made into something creative. I changed the exposure in Camera Raw, sharpened it a bit, and then opened it in Photoshop, where I did more tweaking and added three different textures by French Kiss and Kim Klassen. Of course, being Miss Virgo the Perfectionist I had to step away from it multiple times (breakfast, shower, read a book, dust, nap) and come back to it, which always resulted in more changes and creative courses. Finally, I ended up with an image I was happy with.
It has a much different feel than the original, which probably would have been just fine with a little exposure boost, but I wanted to end up with something a little “artier” (or is the word “artsier”?). During the process, I got the flower looking like I wanted it to, but the background just seemed drab, but I discovered that if I selected the Pin Light blending mode for a texture, it pretty much covered the background. All I needed to do was add a little layer mask on the flower and voila… a new background. Maybe I went overboard with the number of textures I used — and I won’t even tell you how many hours it took me — but I like the result. Here’s a side-by-side before and after shot.
If I take as long on future edits as I did on this one, I’m definitely going to have to quit my day job, but boy, am I having fun!


I can relate to the time spent on Photoshop. It doesn’t seem like it’s that long but hours can pass quickly. Love your final image (but I like the original too!) Thanks for sharing.